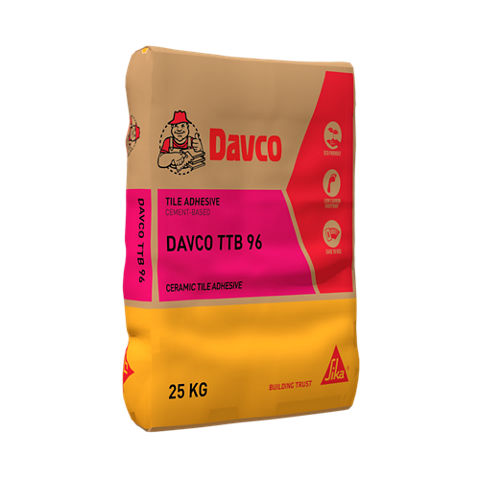
Davco® TTB 96 is spread onto the substrate using a proper and suitable notched trowel. The choice of trowel should be governed by the size of the tiles, depth of knobs, grooves or ridges at the back of the tiles and the evenness of the substrate.
Use the flat side of the notched trowel to spread the mix onto the receiving surface at approximately 1 m² at any one time. Then, use the notched side of the trowel to apply the required amount of adhesive in one direction.
Press the tile in a perpendicular motion and tapped it into position to ensure positive contact with the adhesive. Adjust within 30 minutes.
For tiles with grooves or ridges, it is necessary to skim a layer of adhesive/butter coat the back of the tiles. This is to ensure good bonding and effective coverage between the adhesive, tile and substrate.
Ensure that the adhesive is wet when the tiles are laid. Do not allow the adhesive to skin-over prior to tilling. Should skinning occur, break the skin by re-trowelling the adhesive in the opposite direction.
Do not spread more than 1 m² at any one time. Fix tiles within 15 minutes of applying Davco® TTB 96 and check contact by occasionally lifting the tiles.
Ensure there are no voids under the tiles and leave gaps around 3 mm at the perimeter of the wall & floor joints. These gaps can be sealed with Sikaflex® or Sikasil® range of products
For external tiling works, protect freshly laid Davco® TTB 96 from direct sun and rain by means of a shelter. It is the user’s responsibility to determine the condition and suitability of all surfaces prior to application.
Grouting
Tile joint grouting should preferably be carried out at least 24 hours after completion of tiling or until the adhesive has set and dry sufficiently.
Setting may be delayed on dense or impervious surface.

